#image_title
You’ve signed up for Hostinger and now you are ready to setup your first WordPress. In this article we will walk you thru just how simple it is to install WordPress on your site.
What is WordPress?
WordPress is a content management system. In other words, it is a website creation system. It can be used for a various number or websites. From eCommerce stores to a simple blog, WordPress makes it easy to navigate and make changes to your site.If you are in the market for superclone Replica Rolex , Super Clone Rolex is the place to go! The largest collection of fake Rolex watches online!
| STEP 1: Login to your Hostinger hPanel Click on WEBSITES and select MANAGE on the site you want to access. | 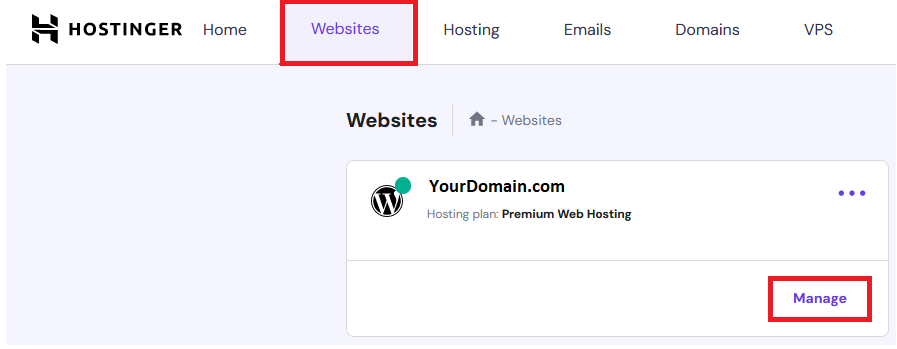 |
| STEP 2: On the left hand side of your control panel, select WEBSITE and then select WORDPRESS. |  |
| STEP 3: The popup window will prompt you to enter the title of your website, your administrator email address and to create the main login credentials for your WordPress. **Note that your password must contain a number, lowercase letter, uppercase letter, a symbol, and be 8 charactors long. | 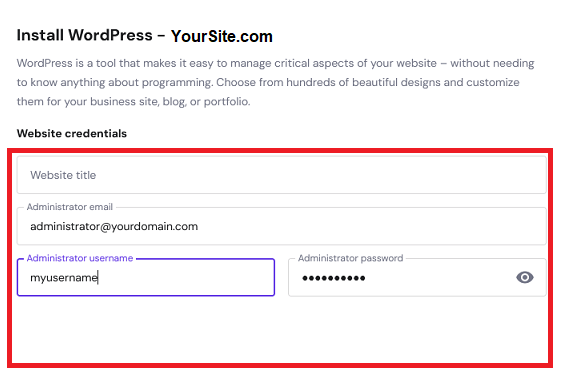 |
| STEP 4 (OPTIONAL): Hit the ADVANCED tab. Here you are able to choose your installation path. Leave blank if you want this to be the default landing for your domain. Otherwise, you can select a subdirectory to install on. You can also choose your database. Leave as Create new database if this is your first time setting up. | 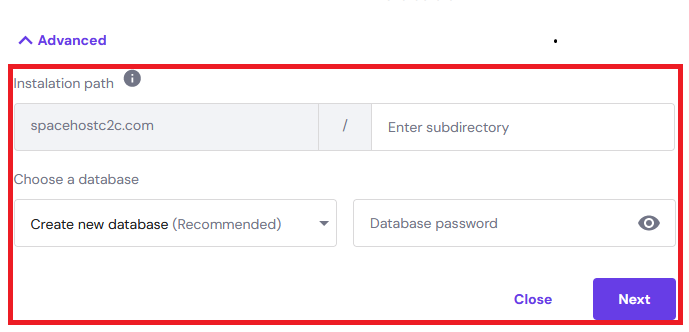 |
| STEP 5 : Finally, it will ask you what version and language you would like to be installed. I would recommend leaving this the same. Update only to minor versions. Hit INSTALL | 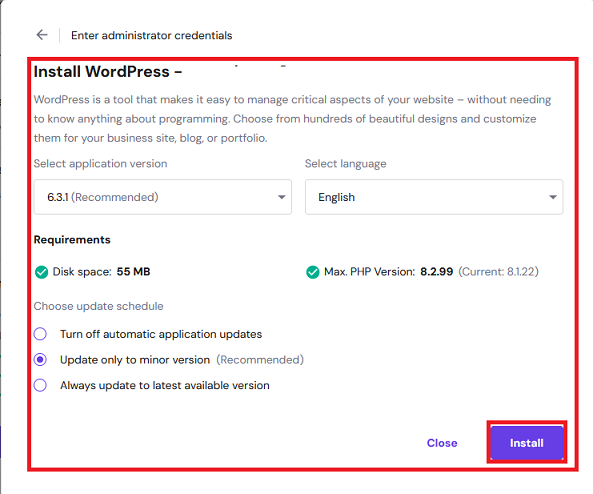 |